
 |  |
Bubble tea, also known as Boba, with its delightful pearls and colourful concoctions, has taken the beverage world by storm. What better way to celebrate a special occasion than by hosting a bubble tea-themed girls' birthday party? Perfect for all ages, especially tweens and teens, get ready to immerse yourself in a world of sweetness, creativity, and, of course, endless bubbles!
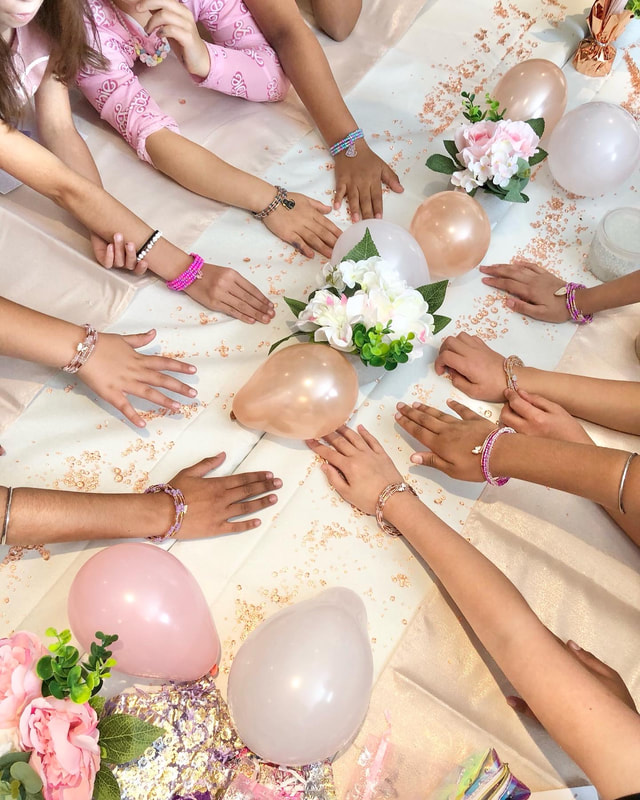
Decorations:
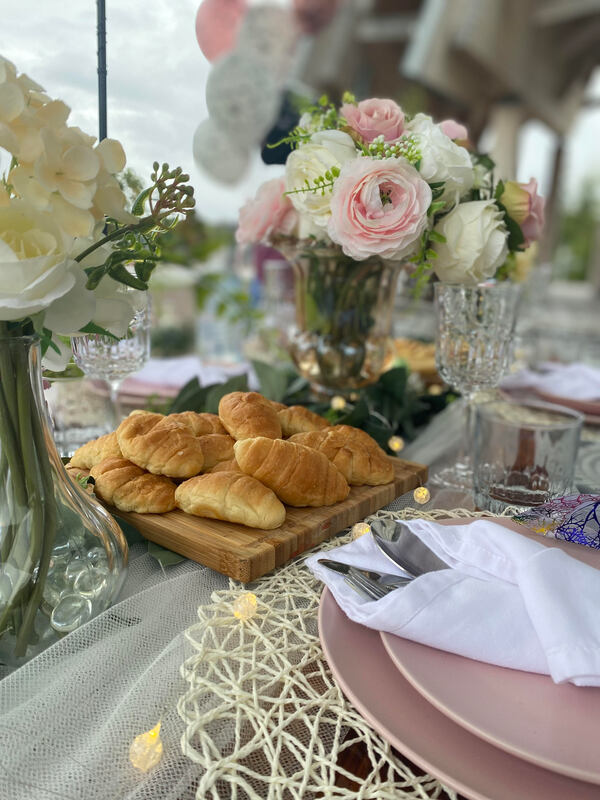
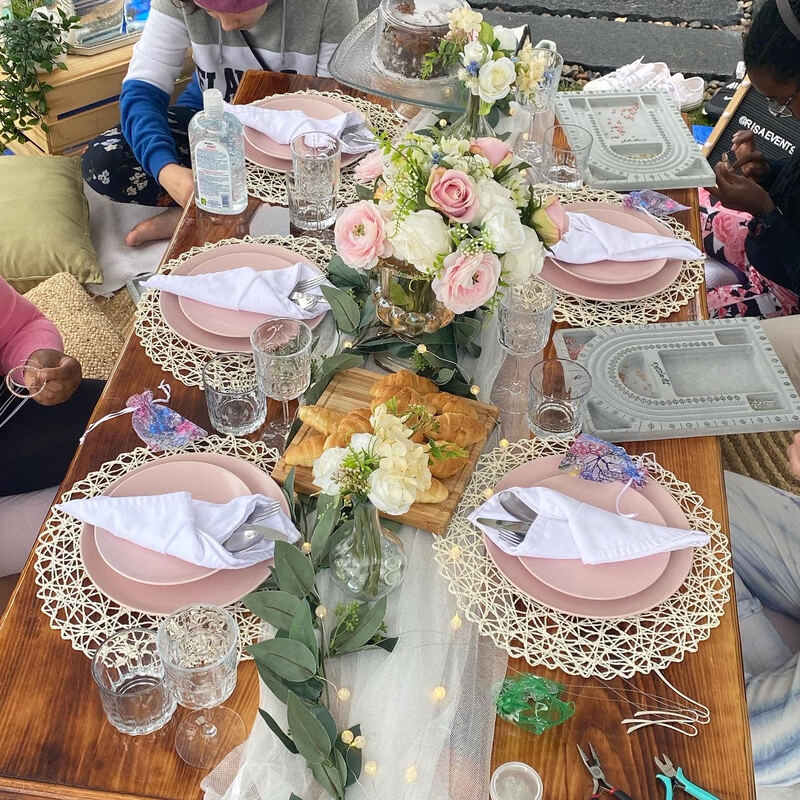
Transform your party space into a bubble tea wonderland with vibrant colors and playful decorations. Use pastel-colored balloons, streamers, and tablecloths to create a lively atmosphere. Giant bubble tea cup cutouts and bubble tea-themed banners will add a whimsical touch.
DIY Bubble Tea Station:
Set up a DIY bubble tea station to let the guests become their own bubble tea mixologists. Provide various tea bases such as black tea, green tea, and fruity options. Offer a selection of toppings like tapioca pearls, fruit jellies, and popping boba. Don't forget the cute, oversized straws to complete the experience! If you would prefer to leave the beverages to the professionals, order bubble tea using Uber eats or DoorDash for the party guests as a tasty treat.
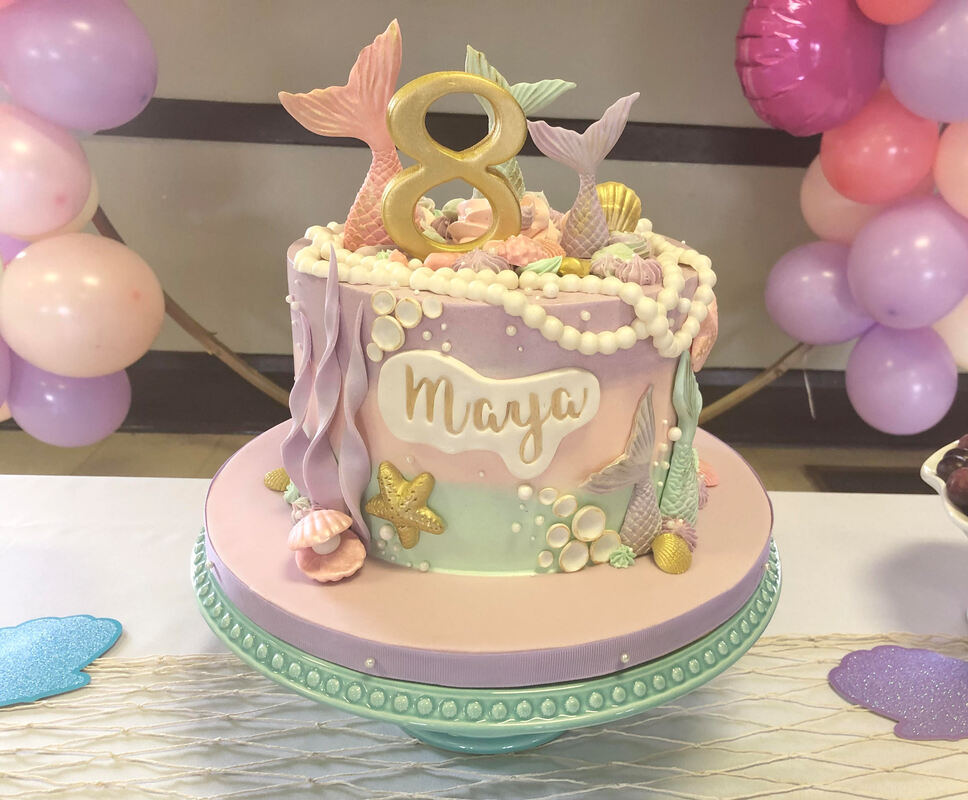
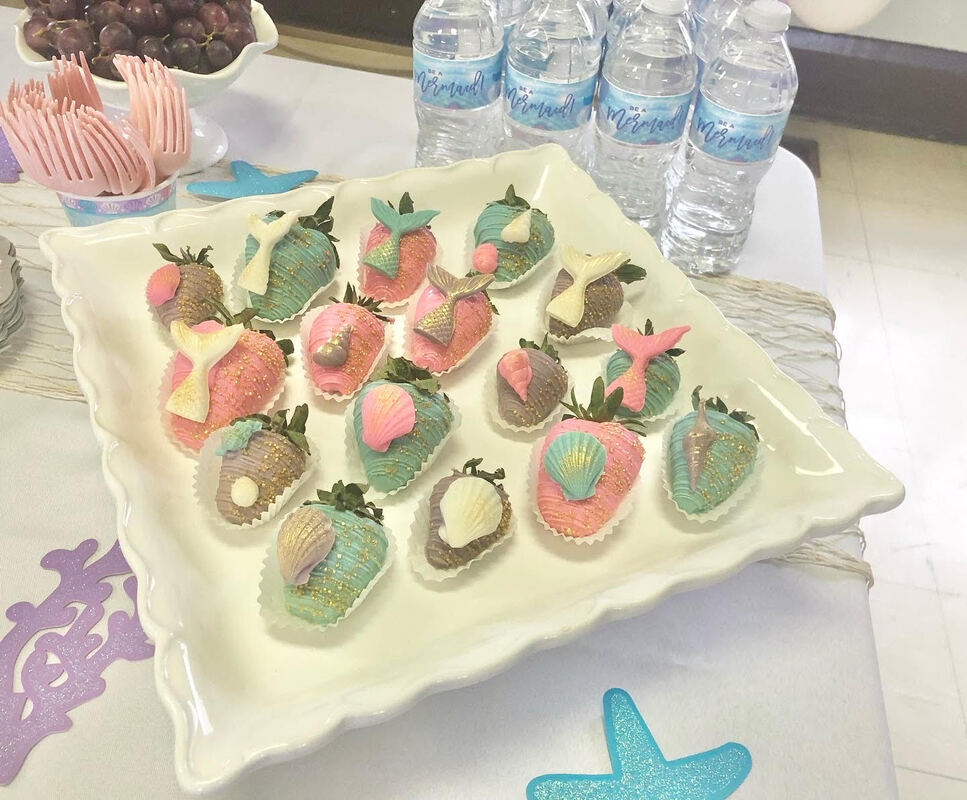
Bubble Tea-Inspired Treats:
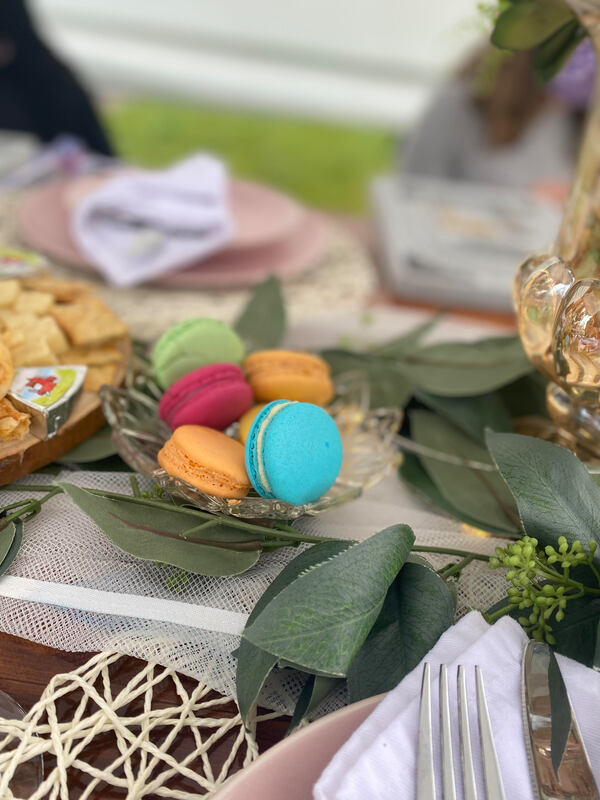
Incorporate the bubble tea theme into the party treats. Cupcake toppers shaped like bubble tea cups, bubble tea cake pops, and cookies with edible pearls are sure to delight the taste buds. Consider a bubble tea-themed cake as the centerpiece, featuring a design that mimics the beloved drink.
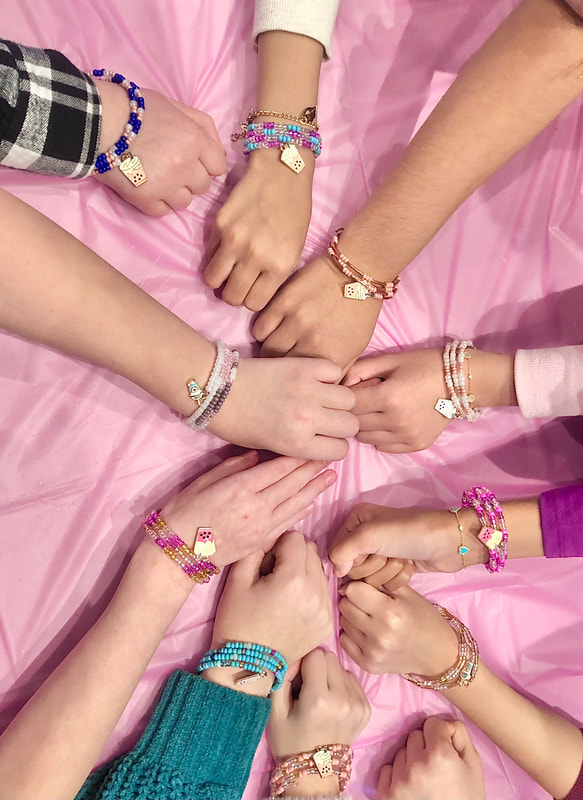
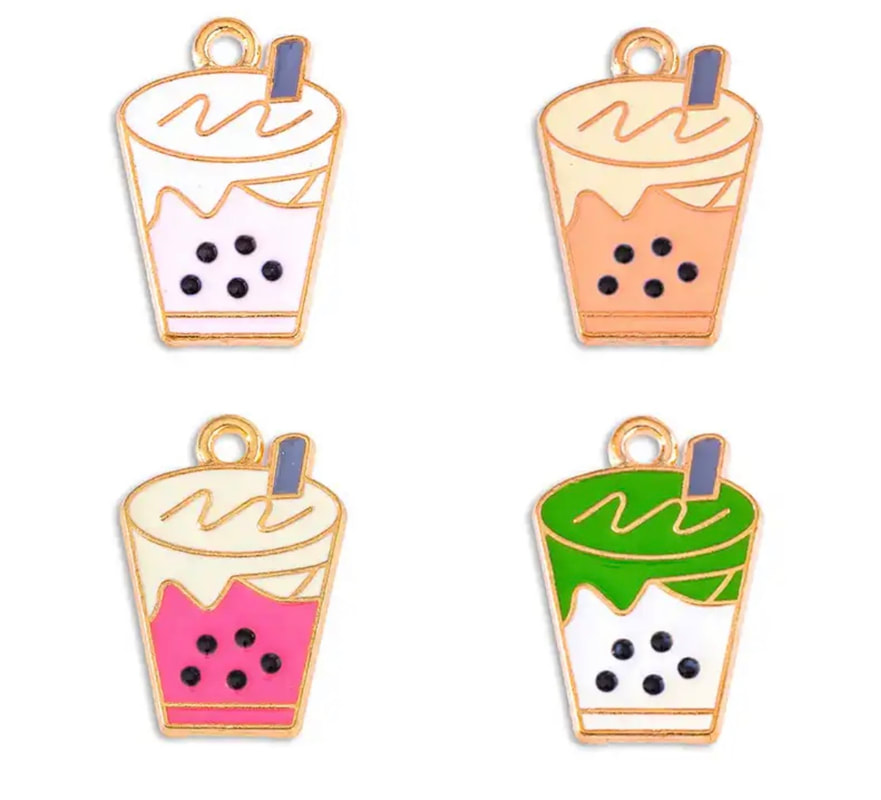
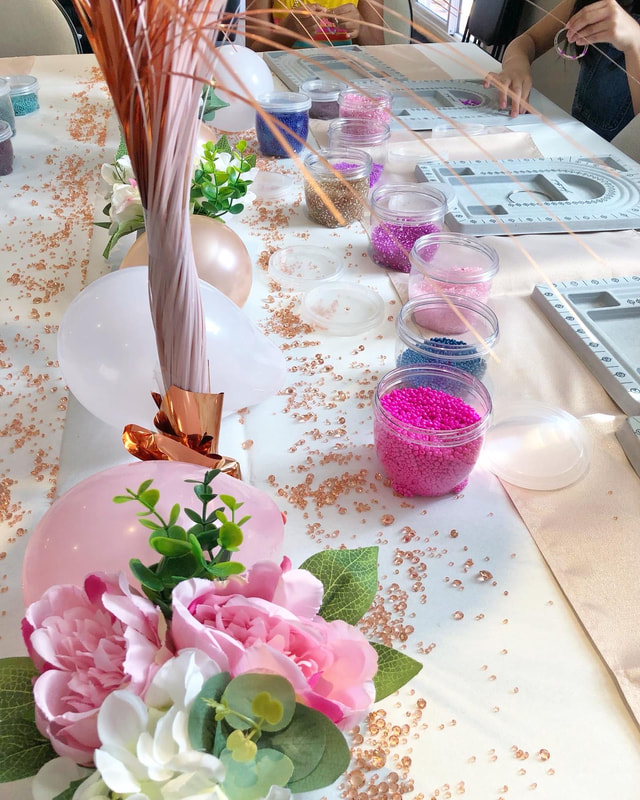
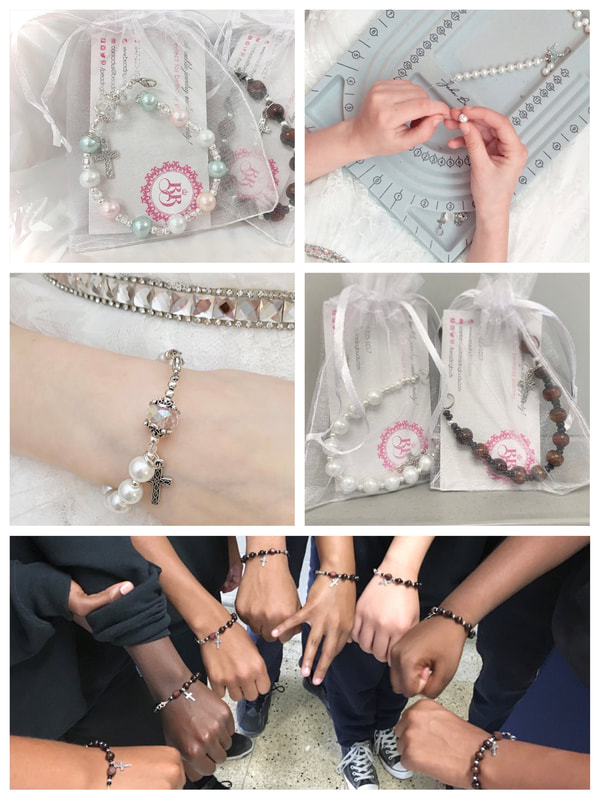
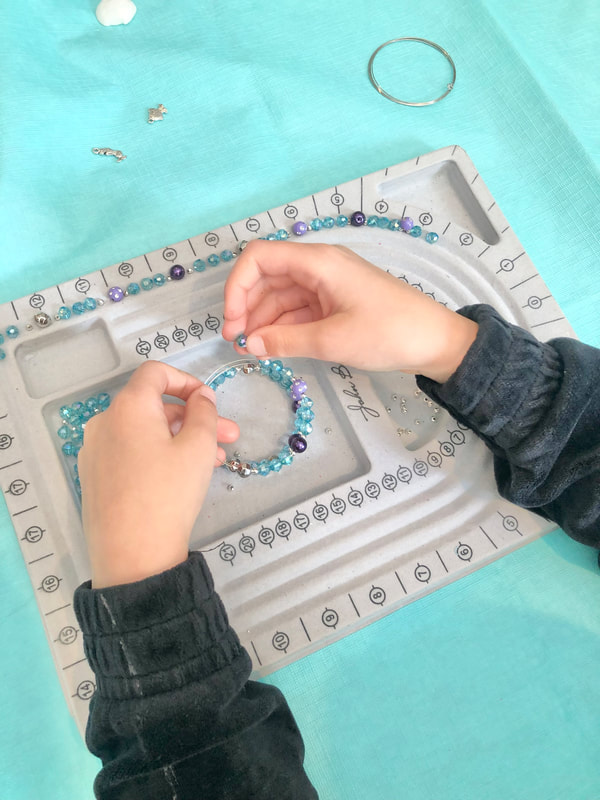
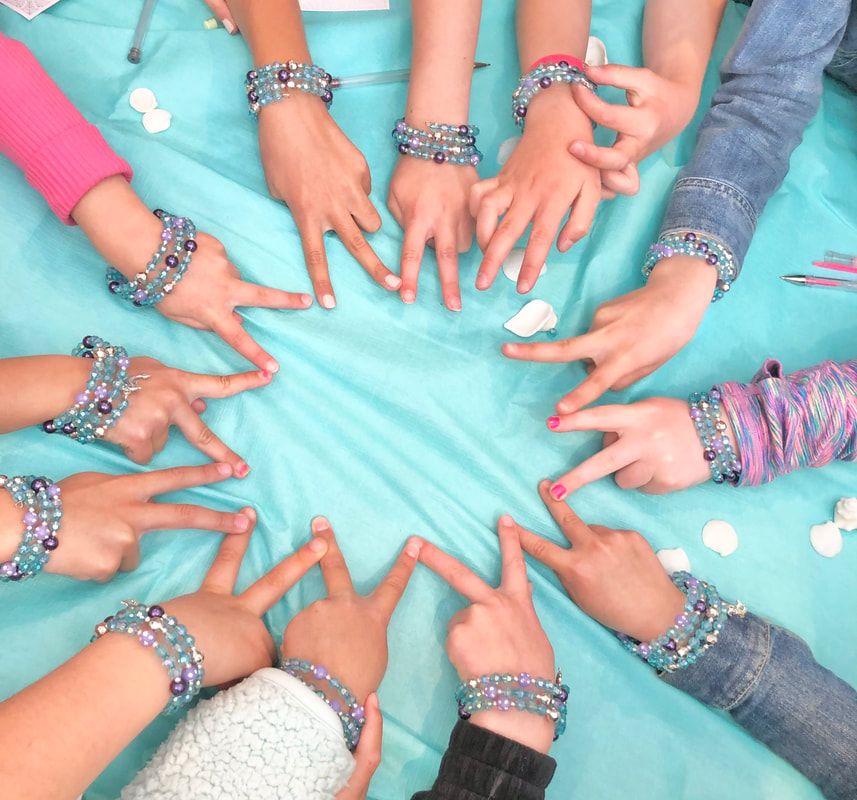
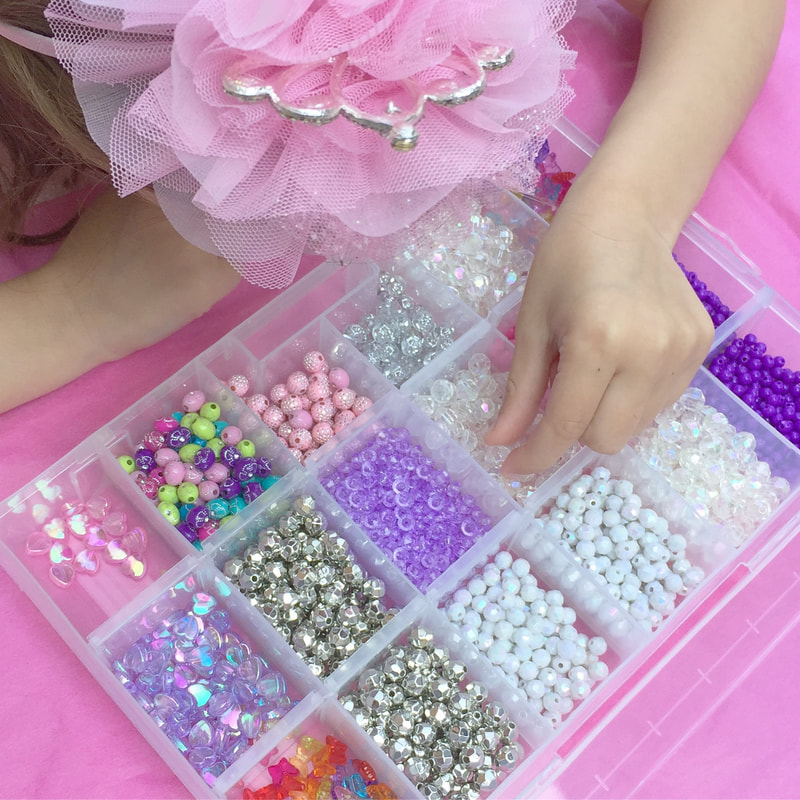
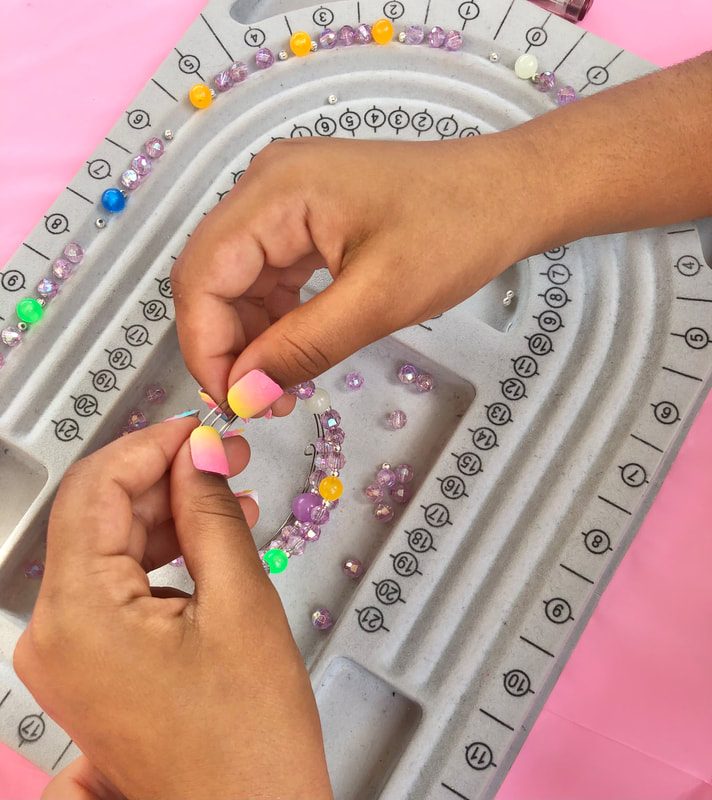
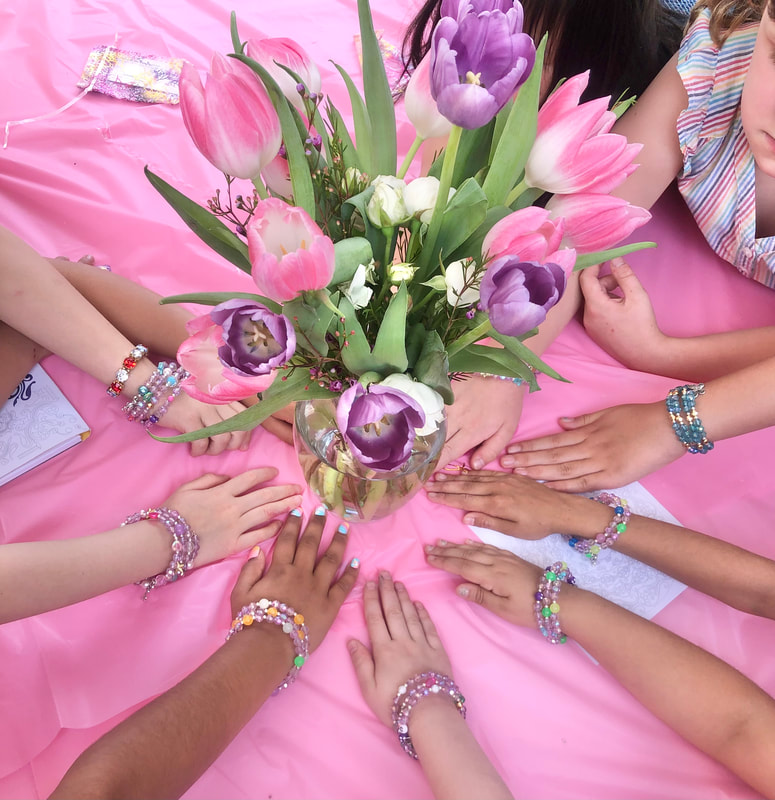
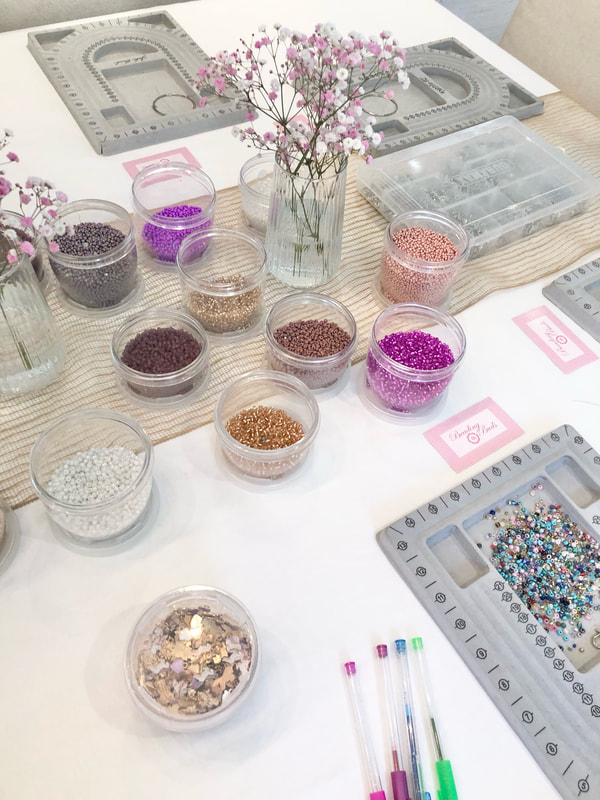
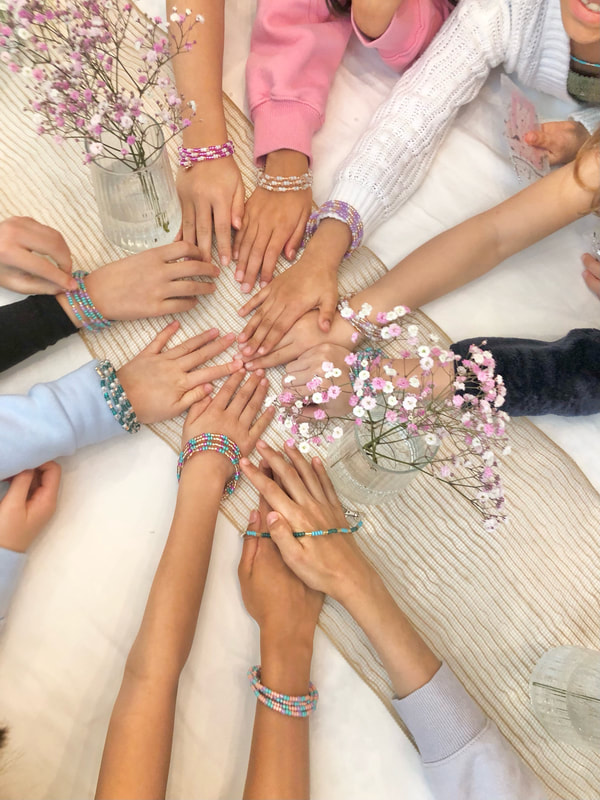
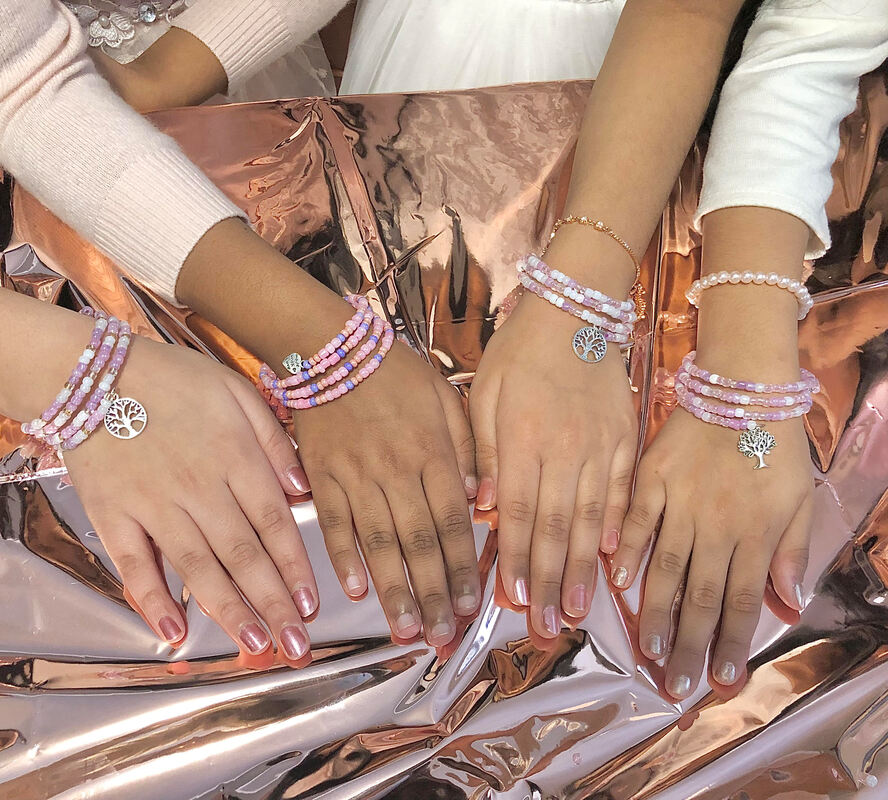
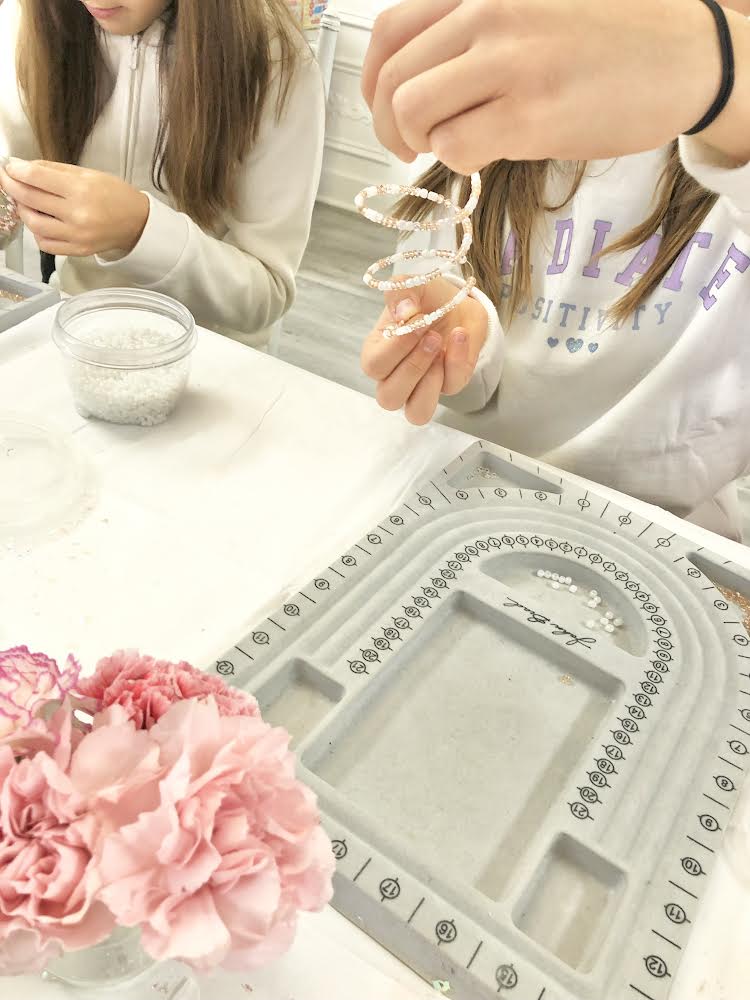
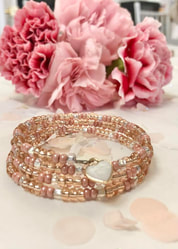
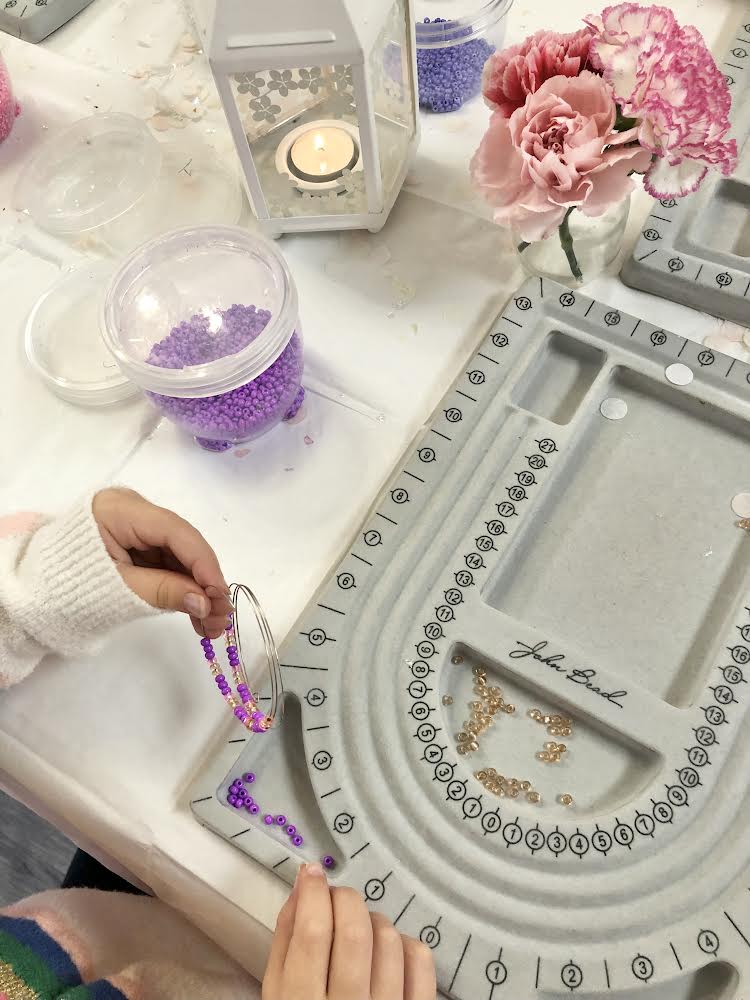
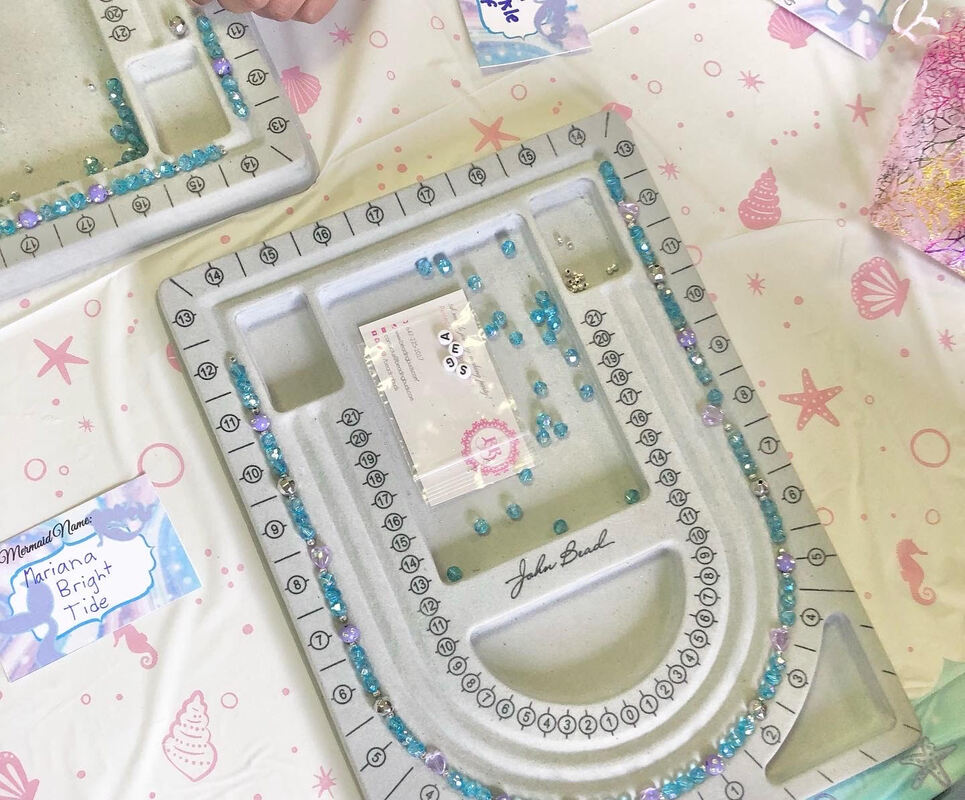
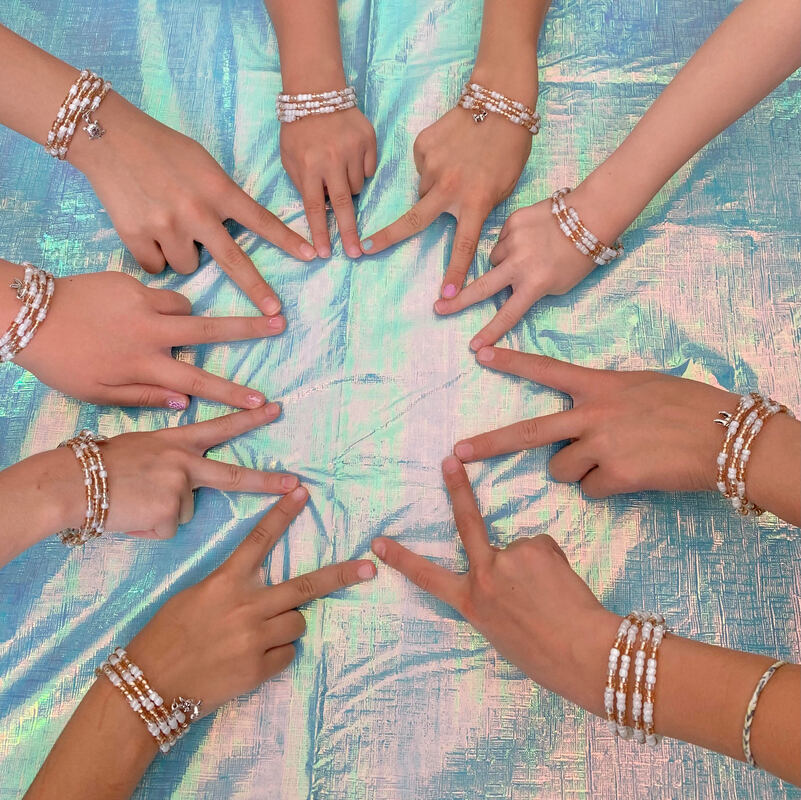
Bubble Tea Craft Station:
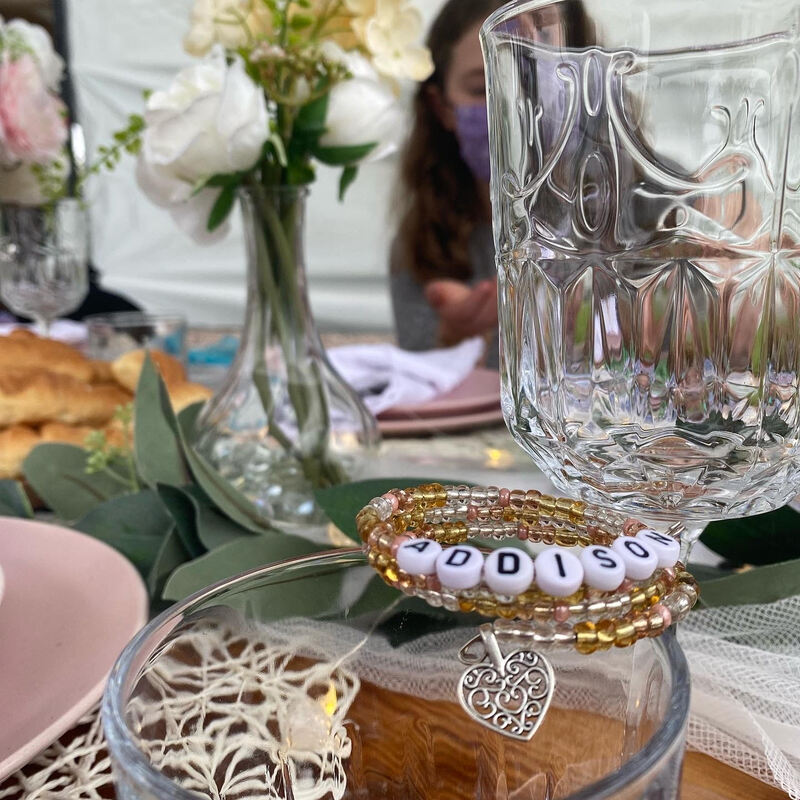
Keep your guests engaged with a bubble tea craft station. Since this is a great party idea for teens, provide materials for creating bubble tea-themed crafts, such as making beaded bracelets resembling tapioca pearls with bubble tea themed charms.
Bubble Tea Games:
Organize entertaining games inspired by bubble tea. Play "Pass the Pearl" where children pass around a bubble tea straw until the music stops, or have a bubble tea cup stacking competition. Prizes can include mini bubble tea kits or fun bubble tea-themed trinkets.
Bubble Tea Fashion:
Encourage guests to dress in bubble tea-inspired outfits. Think pastel-colored dresses, bubble tea-printed accessories, or even DIY bubble tea headbands. Consider giving out prizes for the most creative and stylish bubble tea attire.
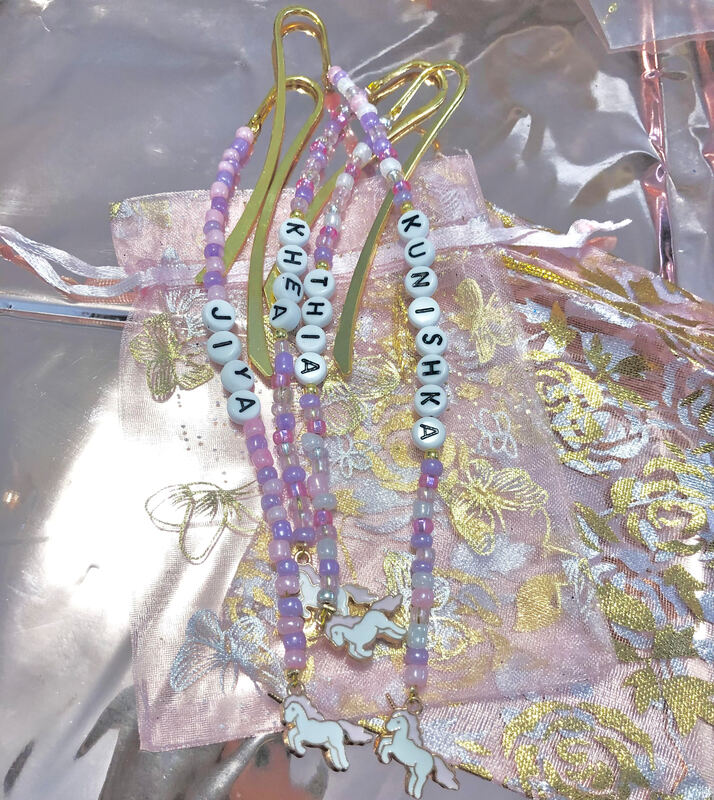
Party Favors:
Send the guests home with delightful bubble tea-themed party favors. Mini bubble tea kits, personalized cups with bubble tea motifs, or even bubble tea-scented lip balm are perfect take-home treats.
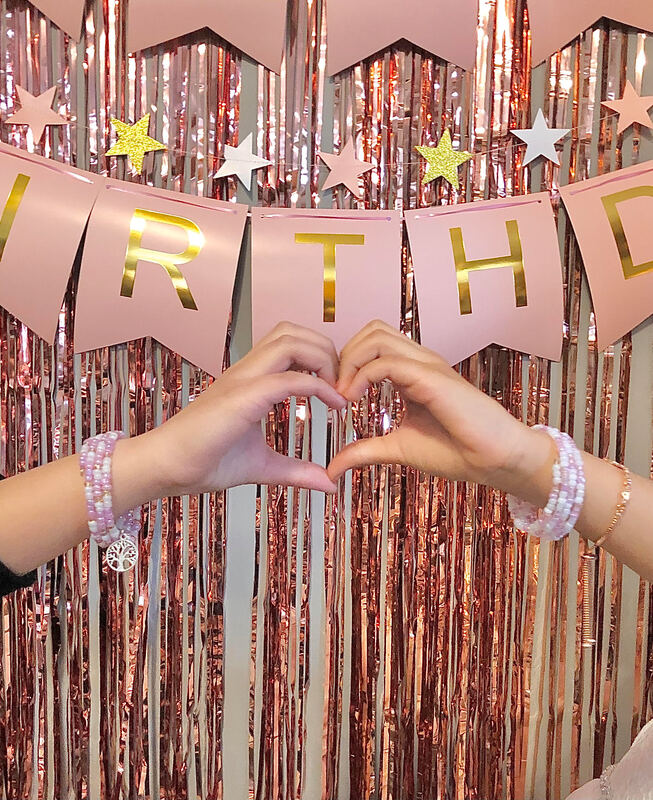
Conclusion:
A bubble tea-themed girls' birthday party promises to be a memorable and sweet celebration. From the decorations to the treats, every element can be infused with the charm of this popular beverage. With a dash of creativity and a sprinkle of sweetness, you'll create an event that leaves everyone with smiles and fond memories. Cheers to a bubbling good time!
Decorations:
Transform your party space into a bubble tea wonderland with vibrant colors and playful decorations. Use pastel-colored balloons, streamers, and tablecloths to create a lively atmosphere. Giant bubble tea cup cutouts and bubble tea-themed banners will add a whimsical touch.
DIY Bubble Tea Station:
Set up a DIY bubble tea station to let the guests become their own bubble tea mixologists. Provide various tea bases such as black tea, green tea, and fruity options. Offer a selection of toppings like tapioca pearls, fruit jellies, and popping boba. Don't forget the cute, oversized straws to complete the experience! If you would prefer to leave the beverages to the professionals, order bubble tea using Uber eats or DoorDash for the party guests as a tasty treat.
Bubble Tea-Inspired Treats:
Incorporate the bubble tea theme into the party treats. Cupcake toppers shaped like bubble tea cups, bubble tea cake pops, and cookies with edible pearls are sure to delight the taste buds. Consider a bubble tea-themed cake as the centerpiece, featuring a design that mimics the beloved drink.
Bubble Tea Craft Station:
Keep your guests engaged with a bubble tea craft station. Since this is a great party idea for teens, provide materials for creating bubble tea-themed crafts, such as making beaded bracelets resembling tapioca pearls with bubble tea themed charms.
Bubble Tea Games:
Organize entertaining games inspired by bubble tea. Play "Pass the Pearl" where children pass around a bubble tea straw until the music stops, or have a bubble tea cup stacking competition. Prizes can include mini bubble tea kits or fun bubble tea-themed trinkets.
Bubble Tea Fashion:
Encourage guests to dress in bubble tea-inspired outfits. Think pastel-colored dresses, bubble tea-printed accessories, or even DIY bubble tea headbands. Consider giving out prizes for the most creative and stylish bubble tea attire.
Party Favors:
Send the guests home with delightful bubble tea-themed party favors. Mini bubble tea kits, personalized cups with bubble tea motifs, or even bubble tea-scented lip balm are perfect take-home treats.
Conclusion:
A bubble tea-themed girls' birthday party promises to be a memorable and sweet celebration. From the decorations to the treats, every element can be infused with the charm of this popular beverage. With a dash of creativity and a sprinkle of sweetness, you'll create an event that leaves everyone with smiles and fond memories. Cheers to a bubbling good time!
 |  |  |


 RSS Feed