Girl Guide Bracelet Kit Instructions for Sparks and Brownies
Thank you for ordering the Beading Buds Girl Guides Bracelet Making Kit for Sparks and Brownies.
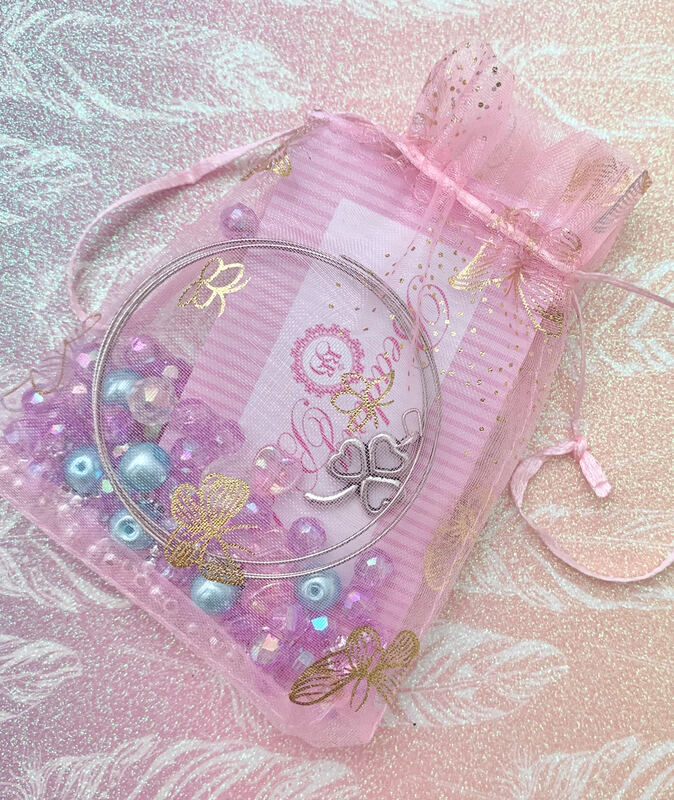
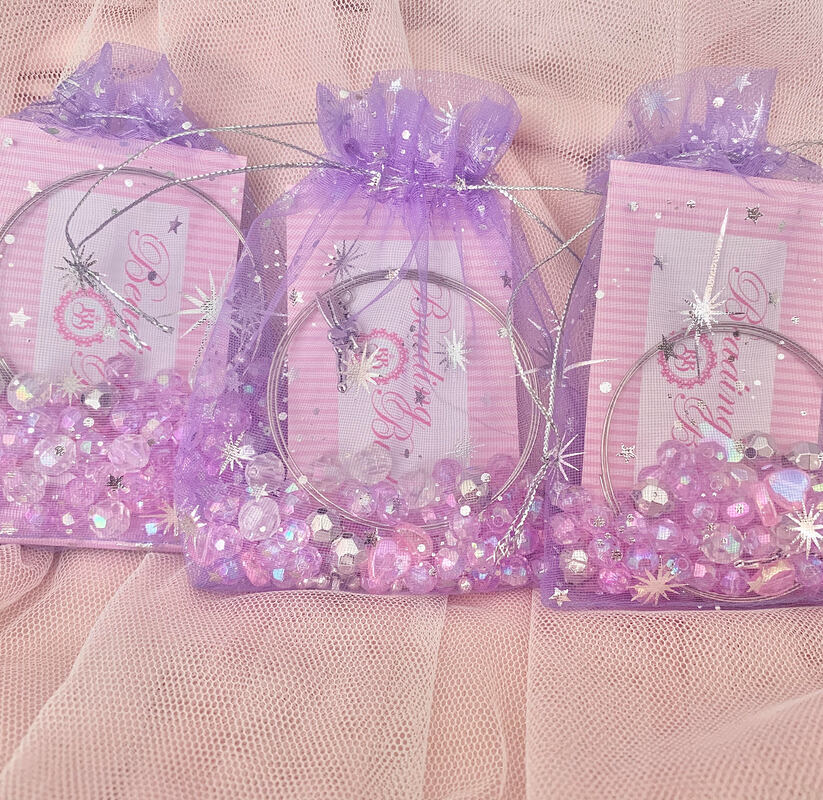
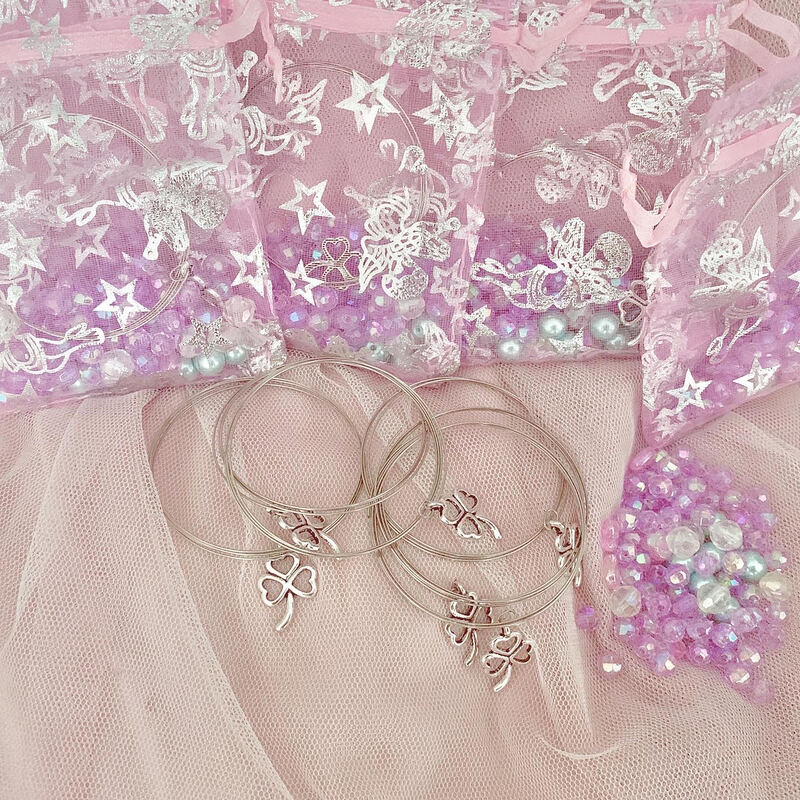
The Girl Guides Bracelet Making Kit for Sparks and Brownies contains the following:
An assortment of beads
Trefoil or Owl charms
Pre-cut memory wire
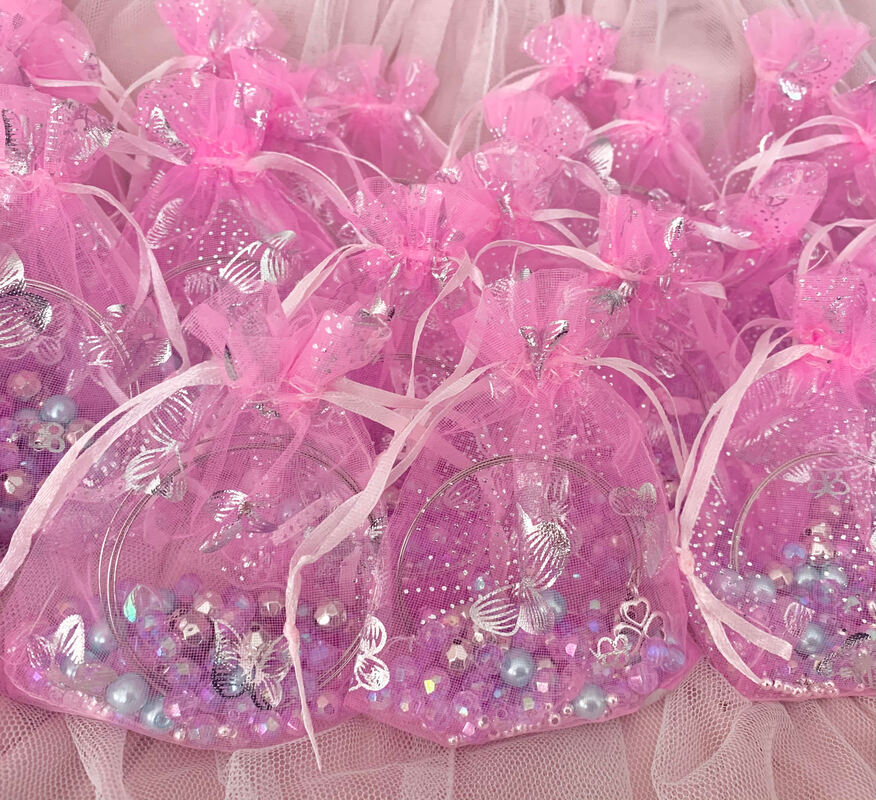
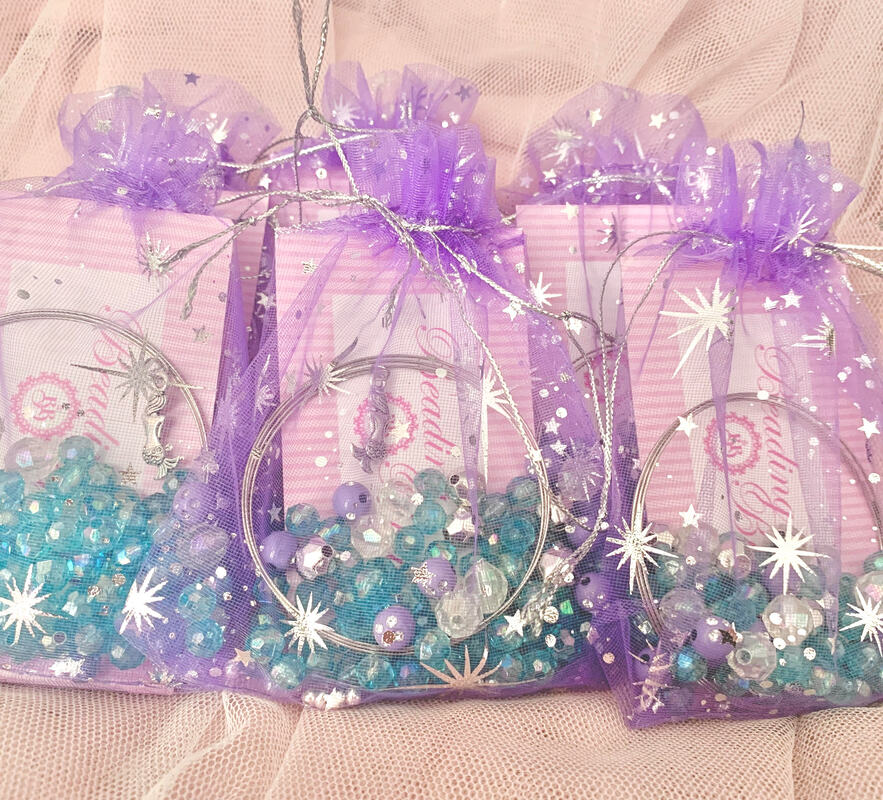
Organza pouches
What you need from home:
Pliers
Below are the suggested instructions for running a party:
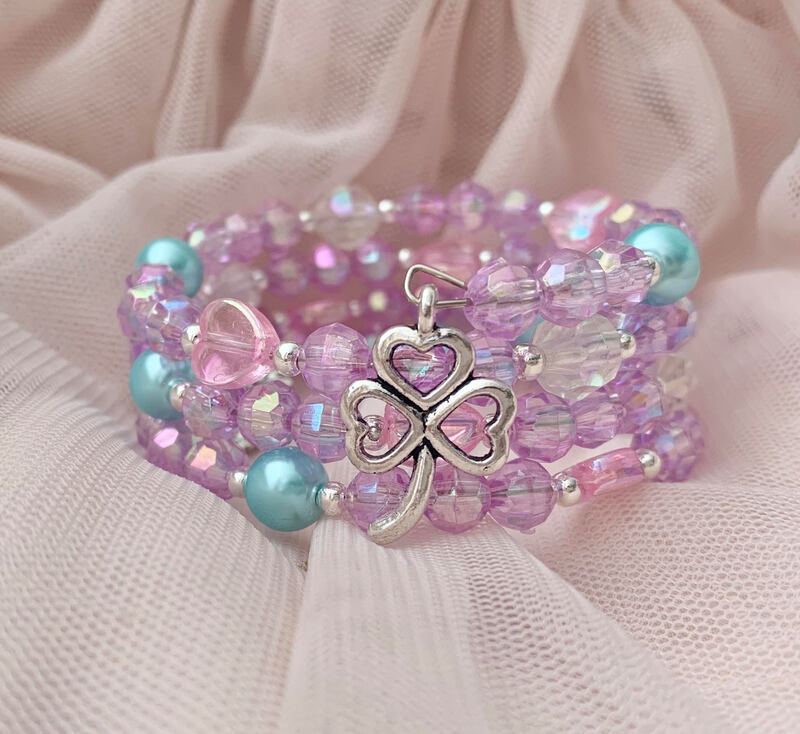
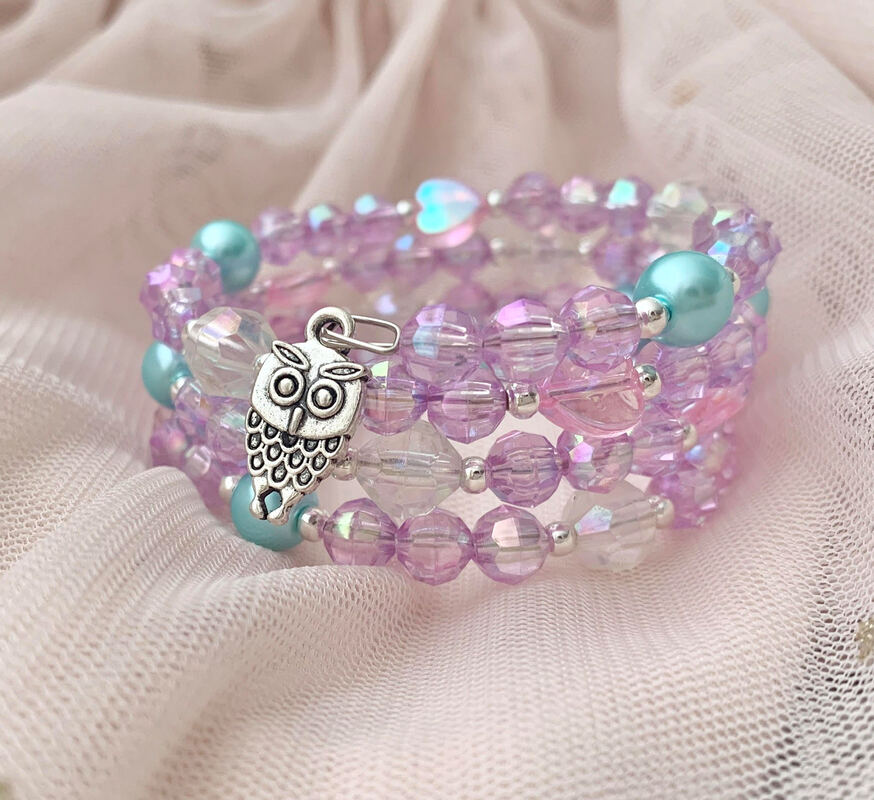
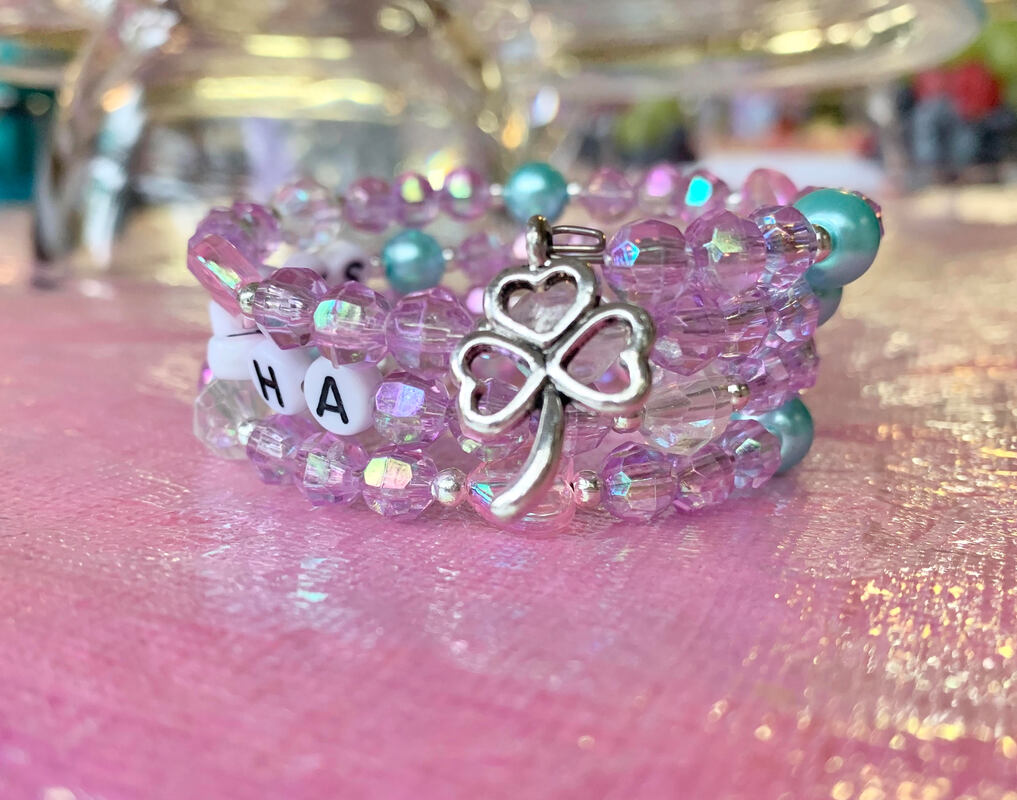
1. Each child should have 60 of the main beads, and three different types of special beads, 6 of each. They should line up the beads in this pattern, 3 main beads, one spacer (mini silver bead), one special bead, one spacer (mini silver bead), 3 main beads, one spacer (mini silver bead), one special bead, one spacer (mini silver bead), three main beads, and keep going until all the beads are used up.
2. Hand out the memory wire to each child. The children should string their bracelet starting from the end that does not have a loop and charm on it.
3. When the children have finished stringing their bracelets, using pliers or tweezers, make a loop on the other end to secure the beads, this loop should look similar to the loop that was already on the memory wire. This link will show you how to do this loop. https://www.youtube.com/watch?v=74W6WZLDmrs
Please note the Bracelet Kit does not come with pliers or a bead tray. We hope you enjoy your kit and thank you for your purchase.
The Girl Guides Bracelet Making Kit for Sparks and Brownies contains the following:
An assortment of beads
Trefoil or Owl charms
Pre-cut memory wire
Organza pouches
What you need from home:
Pliers
Below are the suggested instructions for running a party:
1. Each child should have 60 of the main beads, and three different types of special beads, 6 of each. They should line up the beads in this pattern, 3 main beads, one spacer (mini silver bead), one special bead, one spacer (mini silver bead), 3 main beads, one spacer (mini silver bead), one special bead, one spacer (mini silver bead), three main beads, and keep going until all the beads are used up.
2. Hand out the memory wire to each child. The children should string their bracelet starting from the end that does not have a loop and charm on it.
3. When the children have finished stringing their bracelets, using pliers or tweezers, make a loop on the other end to secure the beads, this loop should look similar to the loop that was already on the memory wire. This link will show you how to do this loop. https://www.youtube.com/watch?v=74W6WZLDmrs
Please note the Bracelet Kit does not come with pliers or a bead tray. We hope you enjoy your kit and thank you for your purchase.