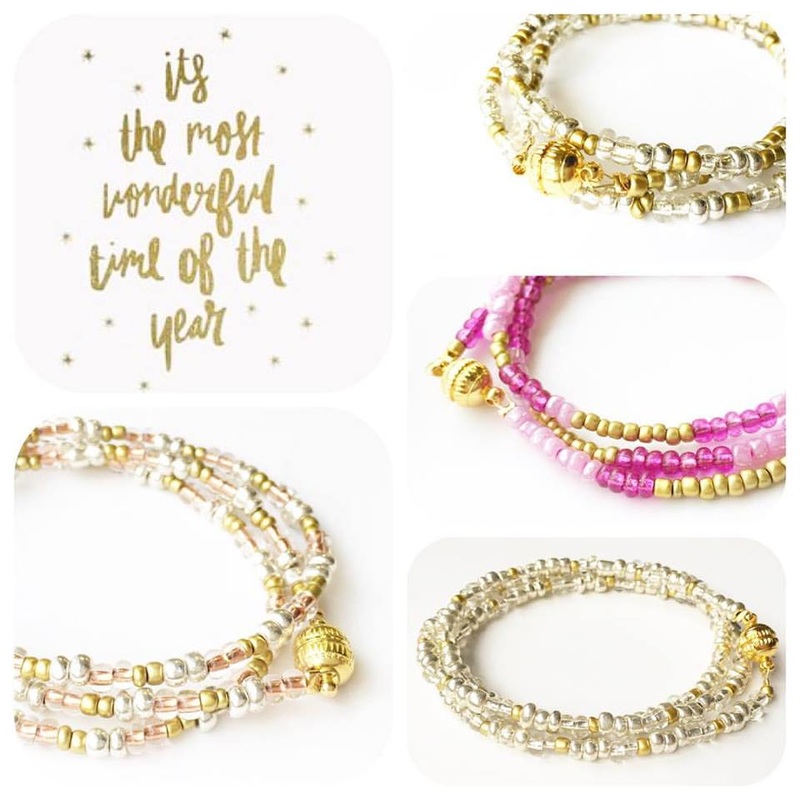
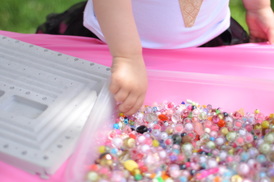
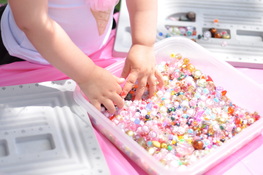
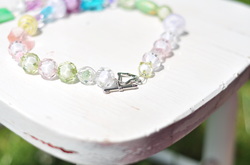
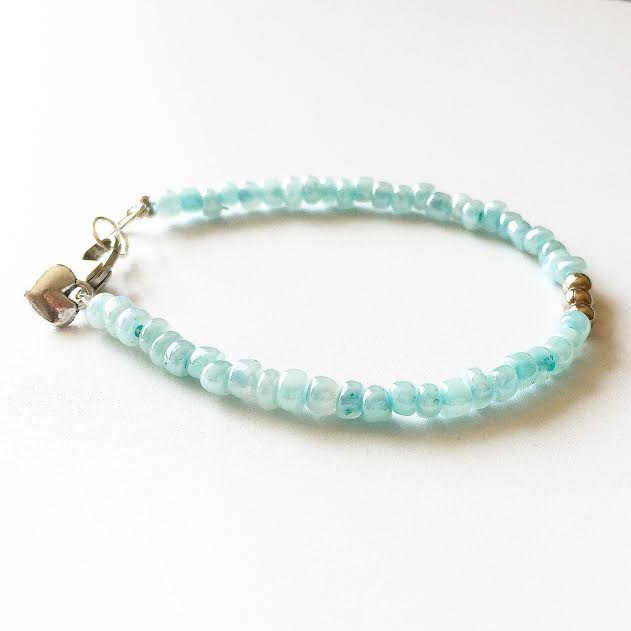
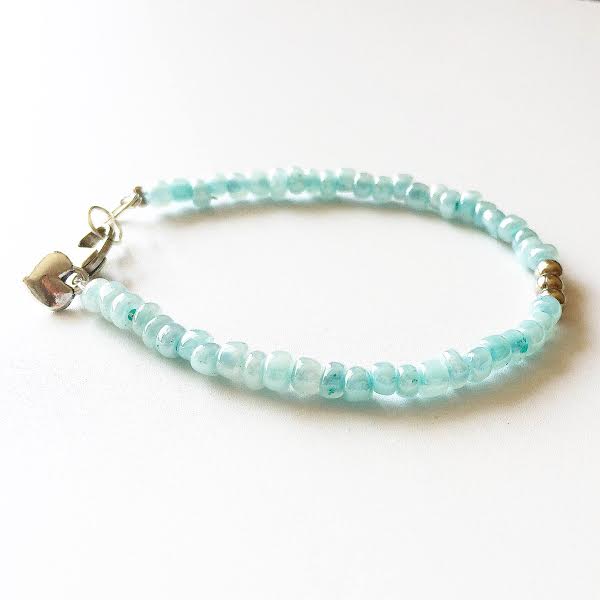
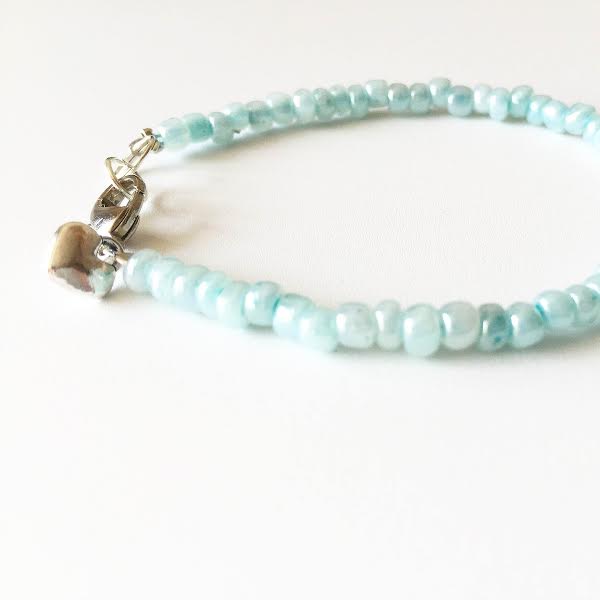
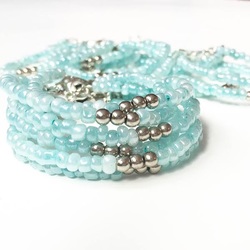
We at Beading Buds love this time of year. We love all the festivities, spending time with friends and family. Over the past few weeks we have visited schools all over the greater Toronto area and made hundreds of these glass bead wrap bracelets (which can also be worn as necklaces). The students had the opportunity to make a gift of love for someone special. We were so impressed with how beautiful the bracelets are and are so excited to hear how much the recipients love their new jewelry.
1 Comment
![]() As the mom of two girls, we have beaded together from the time they were 2 years old. My girls loved to sit on the floor of my beading room stringing all the pretty beads while I prepared for parties and school workshops. Now that they are both in school, teachers often comment on their highly advanced fine motor skills, and how neat their writing is. I am convinced that this is because of all of the fine motor benefits of beading with toddlers. ![]() For toddlers and preschoolers, picking up beads as well as threading the beads onto the string helps with their grasping. Various sizes of beads promote different grasps. Larger beads often promote the "3-jaw chuck" grasp, similar to holding a large pencil or marker. This helps with the child's pencil grip when they start school, and helps them to write neater and for a longer period of time. It also helps them to dress themselves and to use buttons which is so important for when they start school. Smaller beads encourage children to use their pincer grasp, thus strengthening the small muscles of their hands. It also helps with in-hand manipulation skills. Many components of making a beaded craft increase strength and coordination in the small hand and finger muscles. For example, picking a bead up from the beading tray, and then manipulating it in one's hand until it is pinched between your thumb and finger, involves translation, shift and rotation movements of the bead within the hand. ![]() Another huge advantage to beading with your toddler or preschooler, is the fun introduction to math and problem solving. When you bead with your child, ask them what style of necklace do you want to make? What pattern will you choose? Where are all the materials needed to complete this beading activity? How long will your necklace, bracelet, or keychain be? How many beads do you need to complete this project? How can you create and maintain this beading pattern? Encouraging children to think through these functional math problems is a motivating way to introduce and improve academic skills in this area. To get started with beading with your toddler, click here to see our amazing jewelry party kits. Our kits come with tiger tail wire, which is the perfect beading string for toddlers and preschoolers to use. We hope you enjoy your special bonding time beading with your child, and please comment and tell us how it went. One of our most popular beaded projects that we teach is our "three wishes" bracelet. We have made this bracelet with kindergarten classes, Sparks (Girl Guides of Canada) and church groups as a Mother's Day Workshop. We have also made this bracelet at many of our school workshops. This holiday season, we have been making this bracelet at all of our holiday parties, this bracelet is perfect for boys and girls, moms and dads (even though dads prefer it without a heart charm).
We love the idea behind this bracelet, the idea that the wearer has three wishes when they receive this bracelet. We also love the simplicity of it, and how easily it can be stacked with other bracelets to have an arm party. Materials Needed: 48-52 - 4mm glass beads 3 - 3mm silver beads 1 - lobster clasp 1 j- ump ring 1 - heart charm 2 - 2 mm crimp beads 1 - piece of tigertail the length of your wrist and then add one inch. 1 - flat nosed pliers. Directions: Using the flat nosed pliers and the first crimp bead, attach the lobster clasp to one side of the tigertail . String the heart charm, and then string half of your beads onto the tigertail. String the three silver beads, these beads are the three wishes. String the remainder of your beads onto the tigertail. Using the flat nosed pliers and remaining crimp bead attach the other side of the tiger tail to the jump ring. Enjoy your beautiful new three wishes bracelet! |
Authorblog guide for all bead enthusiasts! Archives
July 2024
|